Set Up Suppliers
Create New Supplier
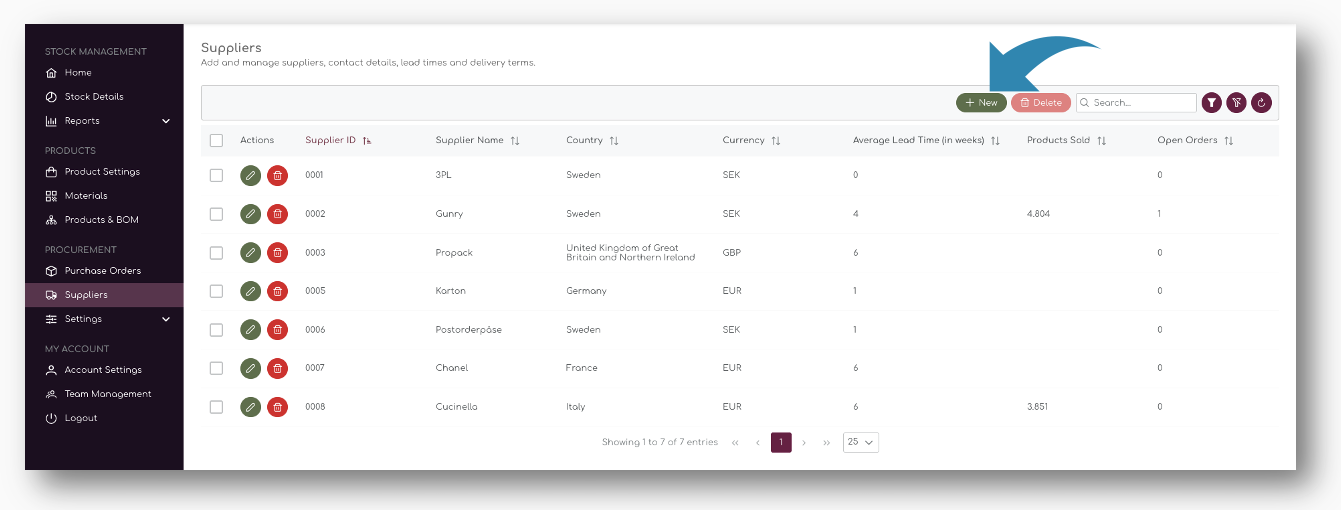
To set up a new Supplier, use the 'New' button on top of the table:
A pop up will open where you can enter all relevant Supplier information:
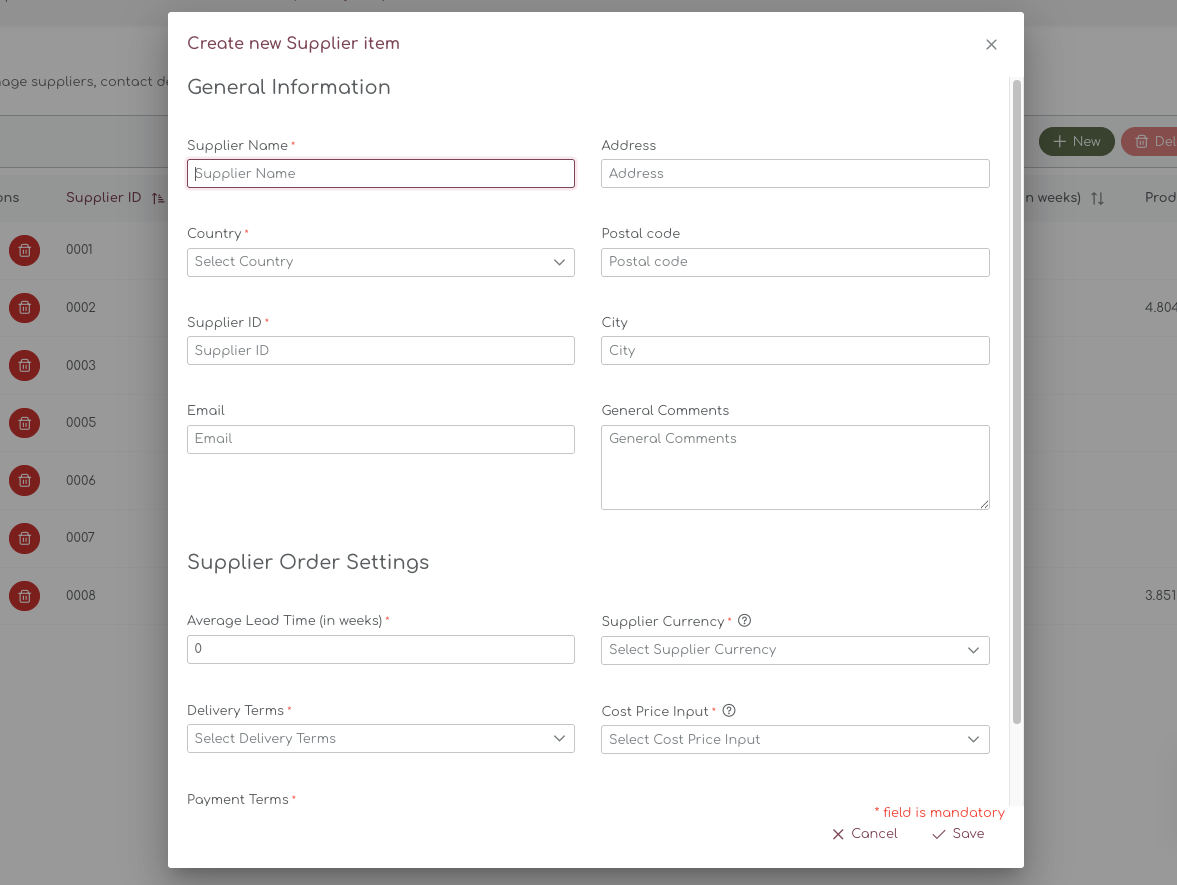
General Supplier Information
The general supplier information contains information that is used when placing purchase orders. This information will also appear on the PDF that is generated after placing a purchase order.
Some of the fields are mandatory, such as Supplier Name, Country of Origin, and Supplier ID.
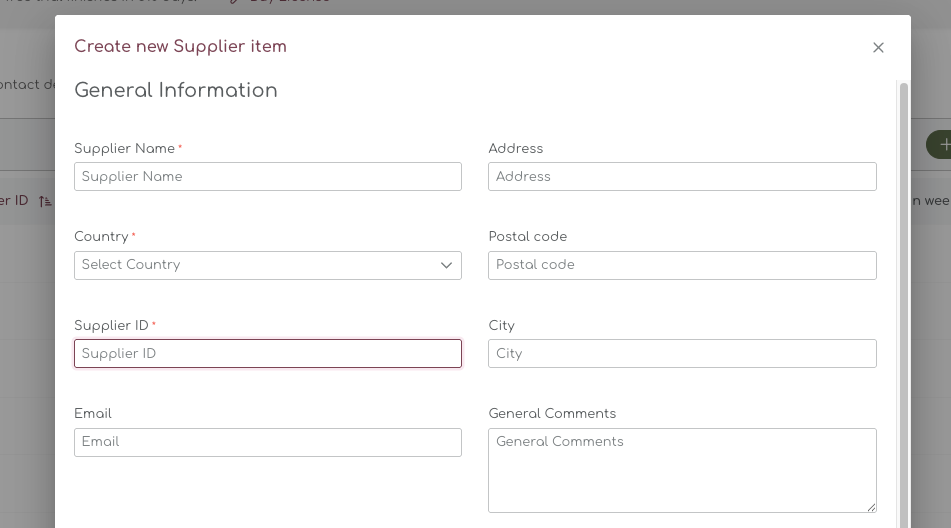
The Supplier ID is a free text field, but it is also used in all reports and calculations.
Supplier Order Settings
At the bottom of the pop-up, you will find the Supplier Order Settings. These settings are used when calculating the ideal order recommendation in Shelf Planner, but also for creating order information on the Purchase Order PDF's.
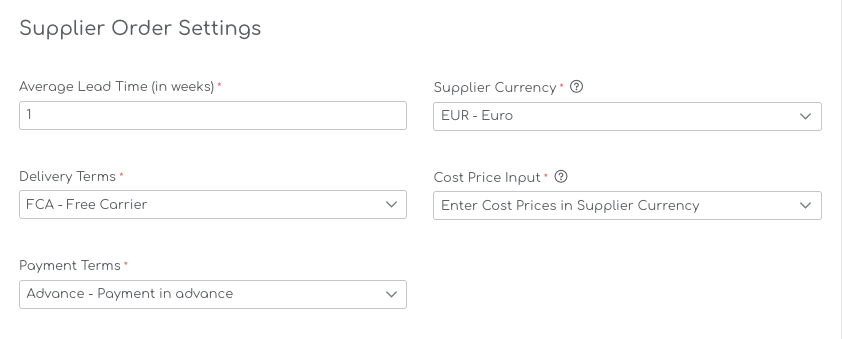
Average Lead Time by Supplier
Supplier lead times are used when calculating the Order Proposals. They are also used to prefill the Expected Delivery Date on the PDF for the Purchase Orders.
Lead Times can be entered for your entire store (Default Lead Time), by Supplier or on a Product Level. The system is using a so called rule based logic - if a Lead Time for a product is present, it will use this for the Order Proposals.

If no Lead Time is present for a product, it will automatically use the Lead Time by Supplier. Finally, if there is no Lead Time by Product, or by Supplier present, it will fall back to the Default Lead Time.
Default Lead Times are managed in the Replenishment Settings, Product Lead Times are managed in the Product Settings.
Supplier Currency & Cost Price Input
For each supplier, you can enter a Supplier specific currency. This will allow you to enter cost prices for this supplier in a preferred currency, for example Euro or USD.
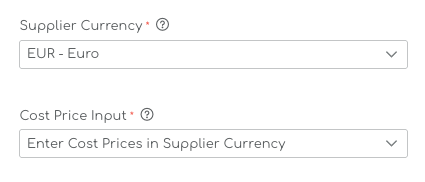
Cost Price Input in Supplier Currency
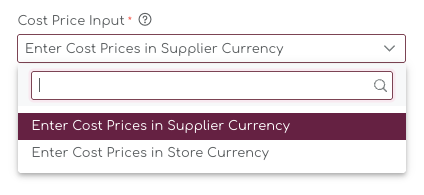
When you choose the Cost Price in Supplier Currency, you will be able enter the cost prices for all product in the supplier currency.
If your store's base currency is for example SEK, but you place orders for a UK based supplier in GBP, you can enter the cost price in GBP and the system will automatically convert the cost price to your store's currency:
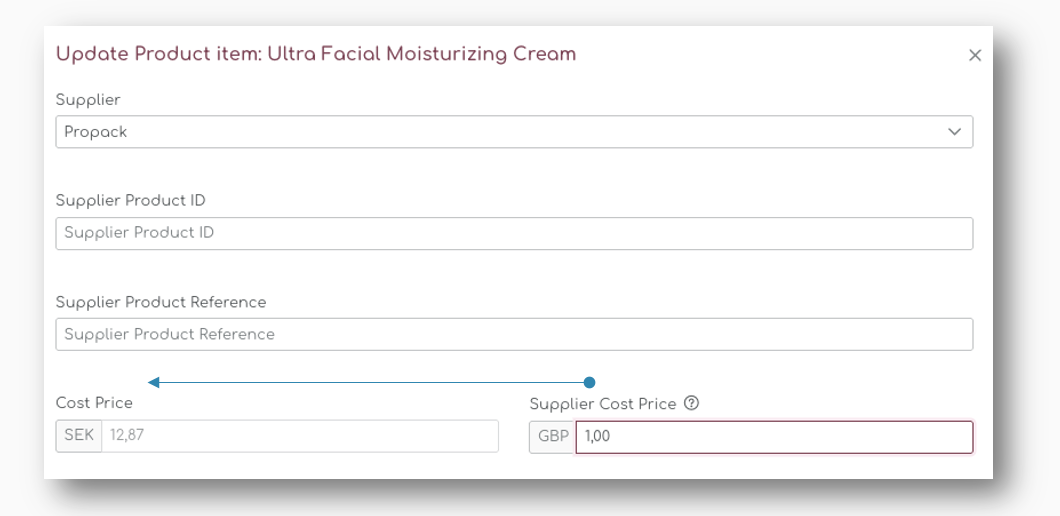
You will also see both of these cost prices in the Order Recommendations when you create a Purchase Order.
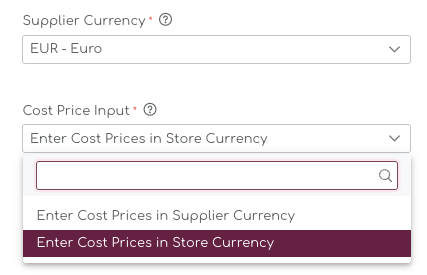
Cost Price Input in Store Currency
If you want to enter Cost Prices in your store's currency, you can set the option to
Payment Terms
The payment terms are predefine by us on the back end and the user can choose between:
- None
- Payment in advance
- Net 7 days
- Net 14 days
- Net 30 days
- Net 45 days
- Net 60 days
Payment terms are added to the PDF generation when you place a purchase order.
