How to use Materials, Categories and Kits & Assemblies
Materials, Categories, Kits & Assemblies
Materials are the so called 'Leaf Levels' in the Bill of Materials, the lowest level in the product hierarchy. Within the Shelfplanner app, all materials can be assigned to a Finished Good, a Kit or Assembly, and Material Categories.
The image below illustrates the relationship between Products (Finished Goods), Kits & Assemblies, Material and Material Categories:
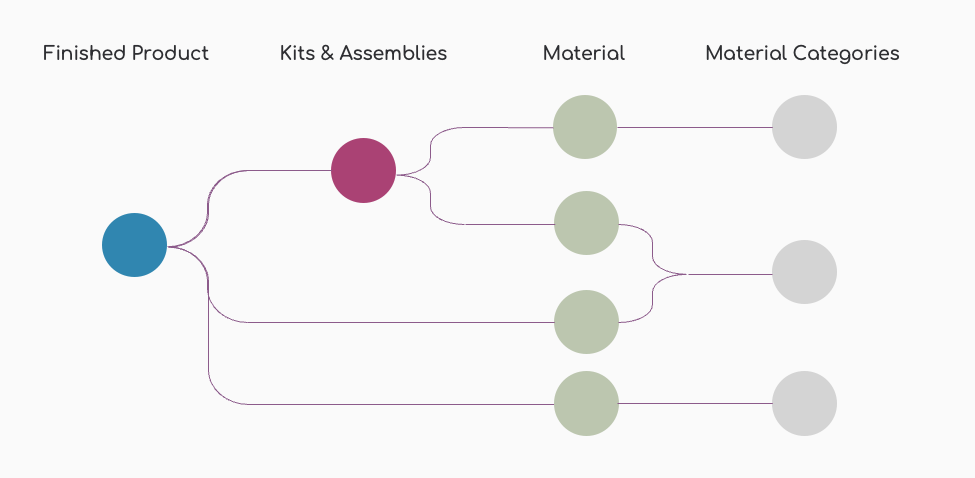
A Kit or Assembly can consist of multiple materials. You can create your own Kits & Assemblies and you can read more about this on the Kits & Assembly pages.
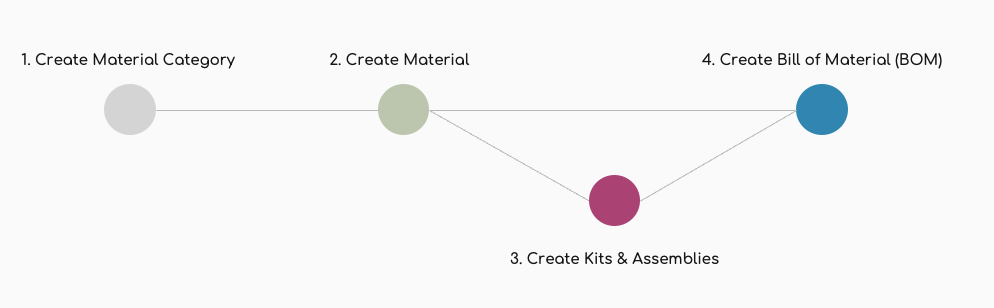
Before you can create Materials, you will have to set up a Material Category. The diagram below illustrates the order and relationship between the different elements. You can create a Bill of Material with only materials, but also with combinations of Materials and Kits or Assemblies.
If you want to create a Kit or Assembly, you will first need to create both Material Categories and Materials.
1. Creating a New Material Category
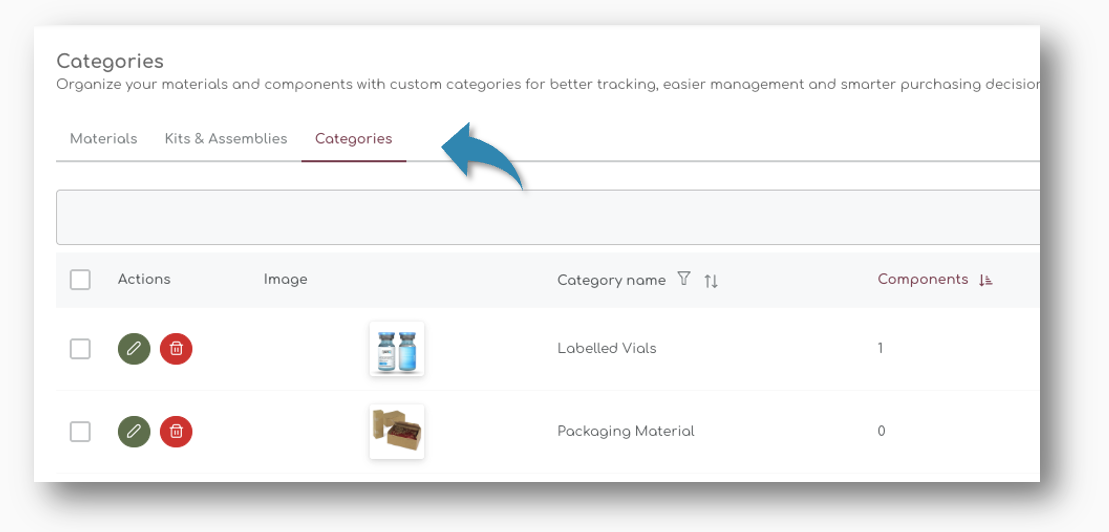
Step 1: Navigate to the Categories Section
- Open the Material pages in the Products section of the menu
- On the Materials page, click on the "Categories" tab to switch to the Categories view.
Step 2: Create a New Material Category
1. In the Categories section, click on the "+ New" button. This button is usually located at the top right corner of the page.

This will open the category creation popup, where you can enter the details of the new category:
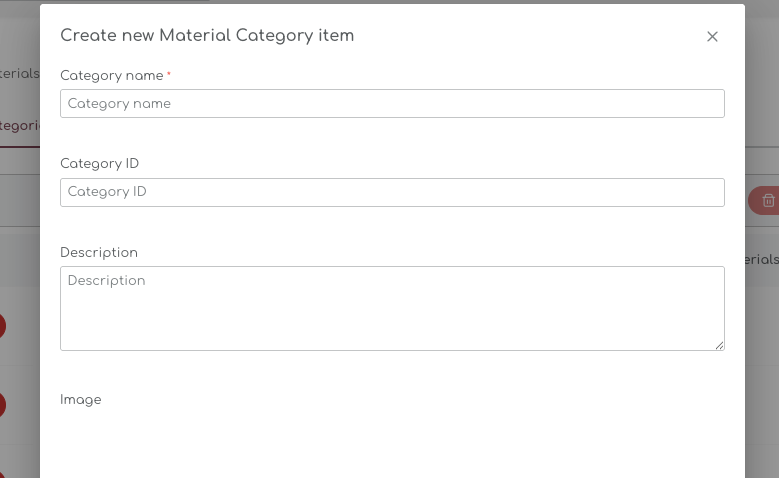
Step 3: Enter Category Information
Fill in the following details for the new category:
Category Name
Enter a descriptive name for the category. This name should clearly indicate the type of materials that will be grouped under this category.
- Example: "Packaging"

Category ID
Assign a unique identifier for the category. This could be a code or any other unique identifier.
- Example: "0001-Packaging", but any free text is possible

Description
Provide a brief description of the category. This description should give an overview of the types of materials included in this category.
- Example: "This category includes all types of packaging materials such as boxes, bags, wraps, and containers used for storing and transporting products.."

The description is a free text and is only used for internal use and not shown anywhere.
Image
Upload an image that represents the category. This image will help in visually identifying the category.
- Tip: Use a clear and relevant image that represents the category well. Images will automatically get cropped to 50 x 50 px
- Only PNG and JPEG format is accepted.
Step 4: Save the Category
- Once you have entered all the details, review the information to ensure accuracy.
- Click on the "Save" button to save the new category.
2. Creating New Materials
Once you have created Material Categories, you can start creating the Materials for your store. In the chapters below, we will guide you through the steps how to do set up materials, link categories and set up reorder points for the Materials in your store.
Step 1: Create a New Material
In the dashboard, navigate to the "Materials" page under the "Products" section:
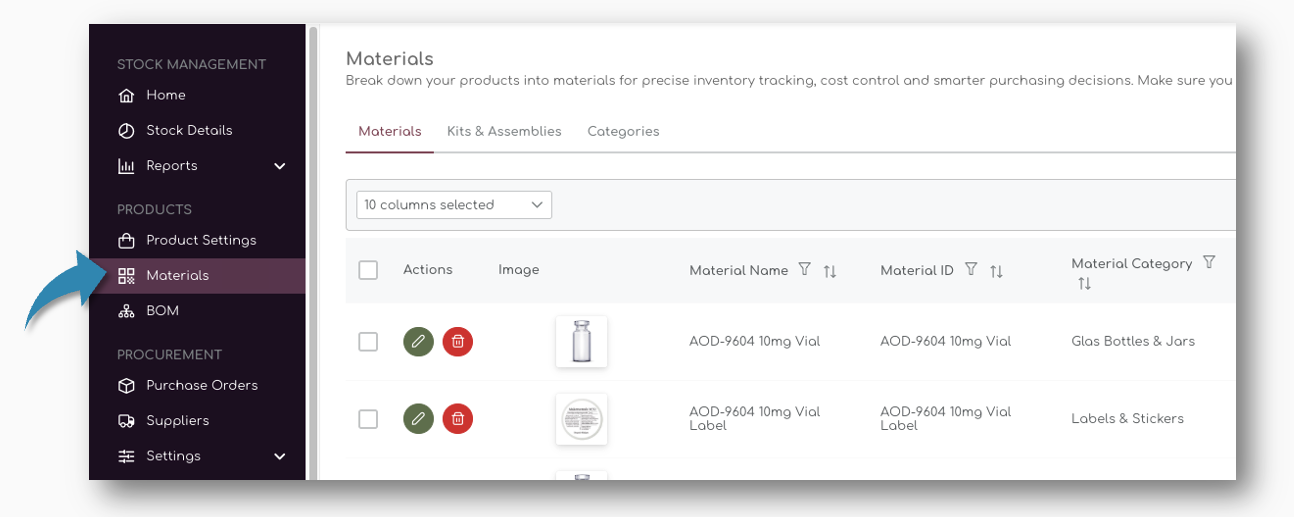
The table on the Material page shows all the individual materials for your products and by default the Material Name, Material ID, Category Supplier, Lead Time, Safety Stock, Cost Prices and Stock Quantities are presented.
You can add more columns to the table using the Drop Down on top of the Table:
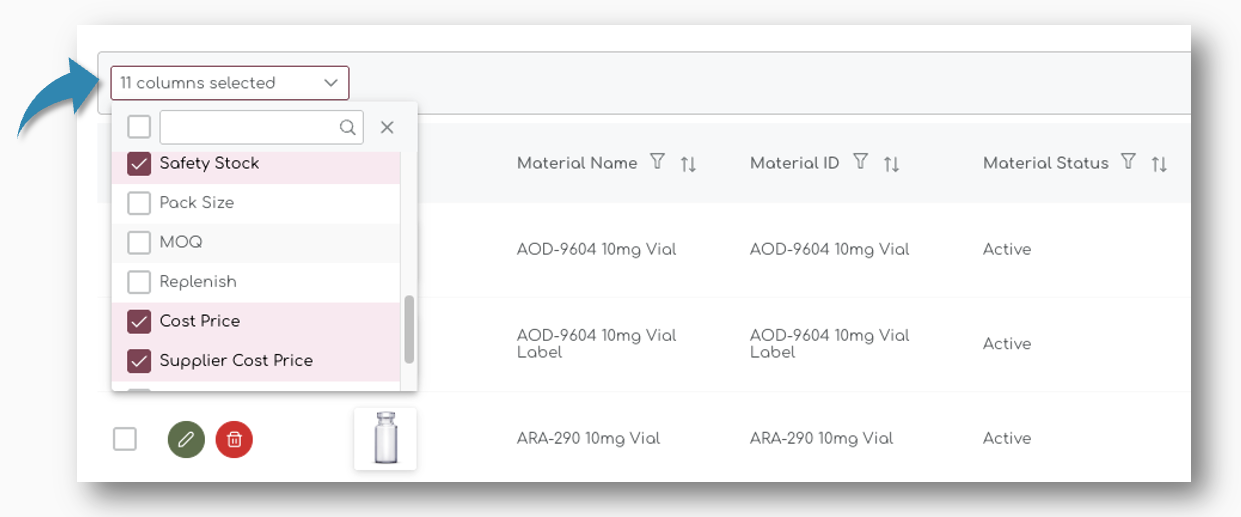
You can find a full list of all material measures at the bottom of this page.
Step 2: Enter General Material Information
On top of the table, you can click on the "New" button to create a new material. A pop up appears where you can you can enter the details of the new material.
The first section is the general material information. This is where you can add all generic information such as
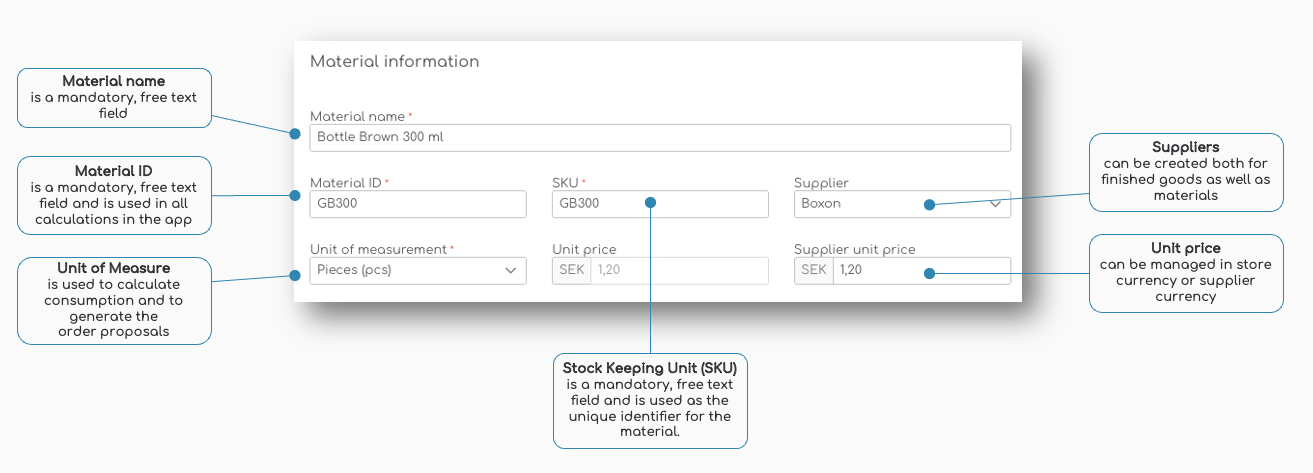
Material Name, Material ID & SKU
Similar to products in your store, we use the Material Name, Material ID and SKU information in the app. These are mandatory fields and have to be unique.
Material Name
Enter a descriptive name for the material. For example, "Letter Pack L150 x B100 x H27mm".

Material Name is a free text field, so you can enter any value.
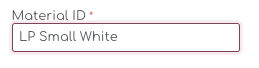
Material ID
Assign a unique identifier for the material. This could be a free text, like a code or a description, for example "LP Small White"
SKU
Enter the Stock Keeping Unit (SKU) for the material - this should be a unique code, for example "0004-LP-150"
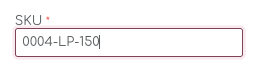
It's a free field text, so you can enter any value that fits your business and data model for your store.
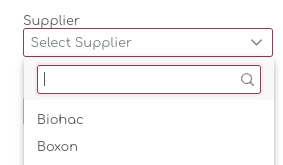
Supplier
Select the supplier from the dropdown list. Ensure that your suppliers are already set up in the system. You can select the Suppliers from the drop down menu once you have created the supplier.
Unit of Measure
Specify the unit of measure for the material, such as pieces (pcs), weight (e.g. grams), length (m, cm) or any of the other Units of Measure. By default, we offer all standard units of measure, divided into multiple classes;
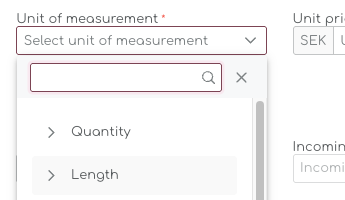
You can chose from the following Units of Measurement:
| Quantity | Pieces |
| Length | Meter (m) |
| Centimeter (cm) | |
| Inch (in) | |
| Foot (ft) | |
| Weight | Kilogram (kg) |
| Gram (g) | |
| Pound (lb) | |
| Ounce (oz) | |
| Volume | Liter (l) |
| Milliliter (ml) | |
| Cubic Meter (m3) | |
| Area | Square Meter (m2) |
| Square Foot (ft2) | |
| Time | Second (s) |
| Minute (m) | |
| Hour (h) | |
| Day (d) |
Unit Price
Enter the unit price of the material in your preferred currency. When you order from suppliers with different currencies than your store currency, you can enter the Supplier Currency. The Material Cost Price will automatically be updated to your store's currency.

Supplier Unit Price
Enter the unit price provided by the supplier in their currency. You can set the Supplier Currency in the Supplier Settings.
Exchange rates are updated weekly.
Image
Upload an image of the material for easy identification. Picture files in the format JPEG and PNG are allowed for upload. After uploading, you can crop the image if needed. A thumbnail will be generated automatically.
Step 3: Enter Replenishment Settings
The second part of the material pages are the Replenishment Settings. Similar to Products, we use a number of parameters to calculate your Ideal Stock and Order Recommendations for all you materials, kits and assembled parts.
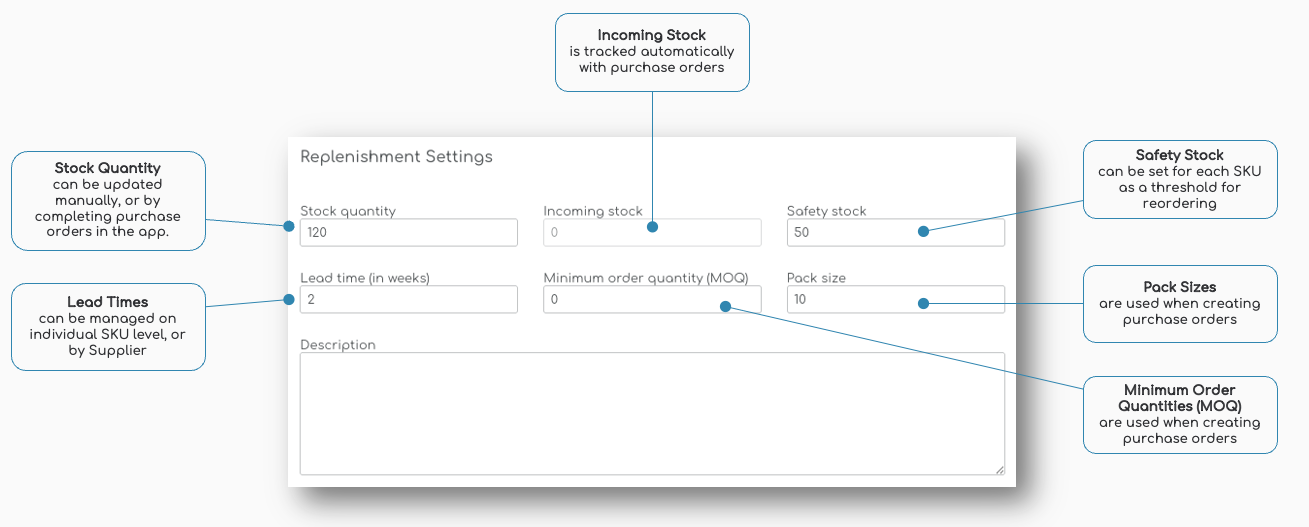
Stock Quantity
The Stock Quantity for materials is entered manually the first time you create a new material. Based on the consumption of the material, we calculate your Ideal Stock for future weeks.
Incoming Stock
When you create a Purchase Order for a material, we automatically track the status of the PO and classify the ordered quantities as 'Incoming Stock.
We use the incoming stock for materials to calculate the order proposals, similar to how the order proposals for products is generated.
On the Material creation page, the Incoming Stock is not an editable field. It's calculated based on PO's placed.
Safety Stock
Set the safety stock level to ensure you have a buffer to prevent stockouts.
Lead Time (in weeks)
Enter the lead time in weeks, which is the time it takes for the material to be delivered after placing an order.
Minimum Order Quantity (MOQ)
Shelf Planner’s Purchase Order Management incorporates a product's Minimum Order Quantities (MOQs) into its algorithms to optimize inventory planning and procurement.
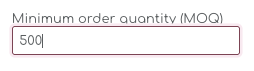
You can enter any value in the MOQ field, and the system will automatically round the Order Proposals for Materials to match the MOQ.
Pack Size
A pack size is the predetermined quantity in which a product is sold, manufactured, or shipped. Suppliers often enforce pack size requirements to streamline production and logistics.
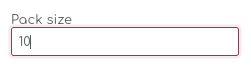
You can enter any value in the Pack Size field and the system will use this parameter to round your order proposals.
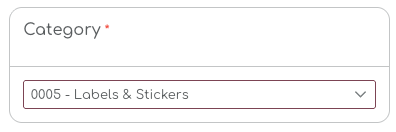
Step 4: Assign Material Category
Before you can create a new material, you have to assign a category to the material. When you have set up the categories for materials in your store, you can select the Category from the dropdown list:
Step 5: Save the Material
Once you have entered all the details, click on the "Save" button to save the new material.
You can also choose to "Save as draft" if you want to complete the setup later.

Creation Date
After creating a Material, or after saving the material as a Draft, we automatically set the creation date. When you save the item as a draft, the creation date will be updated when you publish the material.
Material Status
After you create and save a new Material, a status will automatically be assigned.
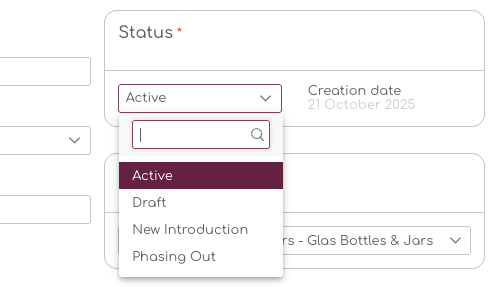
Draft
Draft product and materials are not used in any calculations or proposals.
Active Materials
Active Materials can be assigned to BOMs and Kits & Assemblies, and they will be included in all calculations, reports and recommendation.
| Phasing Out is used for Material Items that will be replaced or phased out of your assortment. New Introduction is used for newly introduced materials and it allows you to track stock age. New Introduction and Phasing Out statuses are features still in development. Only Draft and Active statuses are used in the recommendations. |
3. Creating Kits & Assemblies
A Kit or Assembly can consist of multiple materials. They can be used in pre-processing activities, for example to partially assemble and streamline production processes.
| Before creating a Kits or Assembled product, you will have to create a Material Category. You can do this on the tab Material Categories on the same page. |
Step 1: Create a New Kit or Assembly
In the dashboard, navigate to the "Kits & Assemblies" page under the "Products" section:
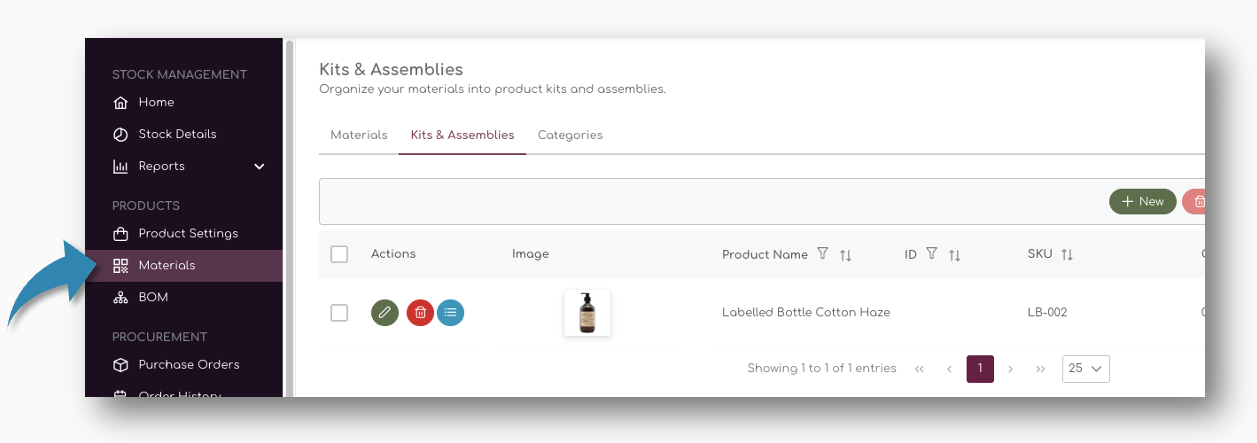
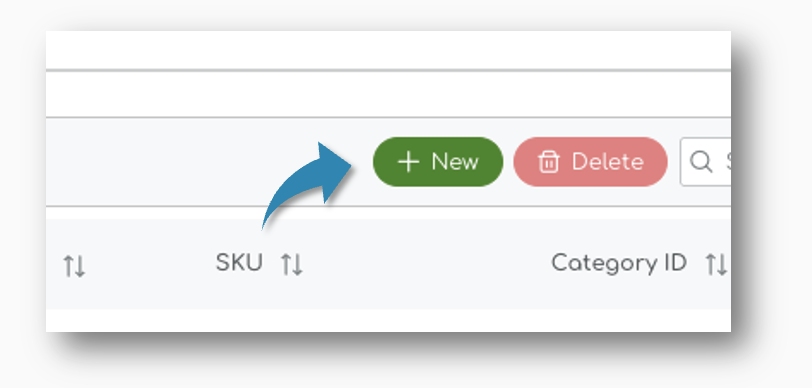
On top of the table, you can click on the "New" button to create a new material:
Step 2: Enter General Assembly Information
A pop up appears where you can you can enter the details of the new Kit. The first section is the general material information. This is where you can add all generic information such as name, ID and SKU number. You can also add some general comments or descriptions.
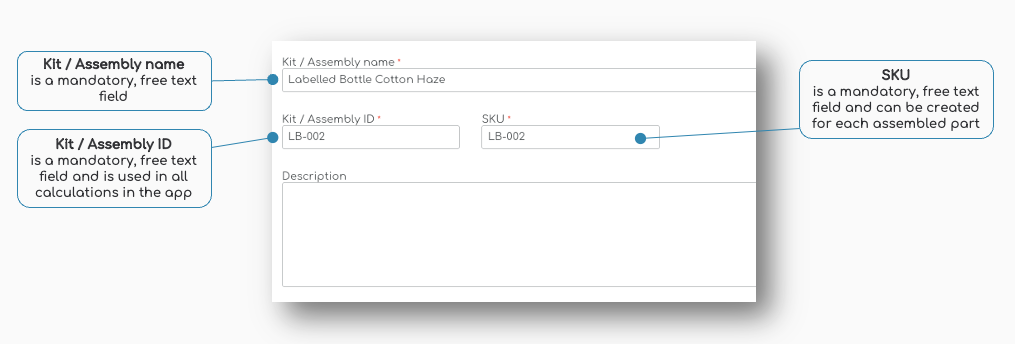
Kit Assembly Name
Similar to products in your store, we use the Material Name, Material ID and SKU information in the app. These are mandatory fields and have to be unique. Enter a descriptive name for the material. For example, "Labelled Bottle Cotton Haze".

Kit / Assembly ID
Assign a unique identifier for the material. This could be a free text, like a code or a description, for example "LB-002"

SKU
Enter the Stock Keeping Unit (SKU) for the material - this should be a unique code, for example "LB-002"
It's a free field text, so you can enter any value that fits your business and data model for your store.
Category
Select the supplier from the dropdown list. Ensure that your categories are already set up in the system. You can select the Categories from the drop down menu once you have created the supplier.
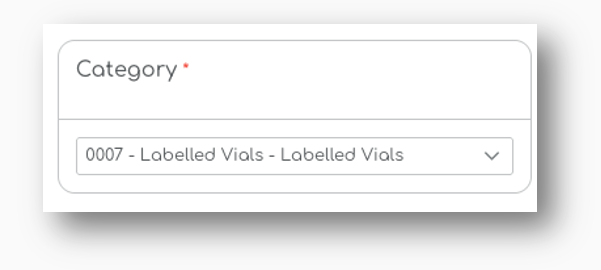
In this example, we have created a dedicated Category for assembled parts - Labelled Vials
Step 3: Assign Material to Kit / Assembly
When you have entered the general information for the assmbled part, you can save the item. A new pop up will appear where you can select which items should be assembled in the kit or assembled part:
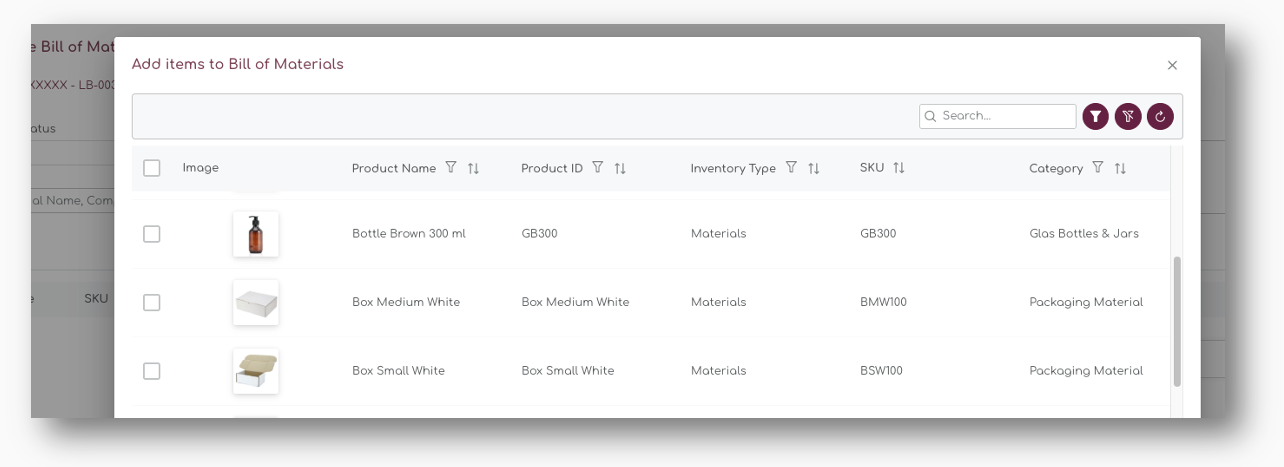
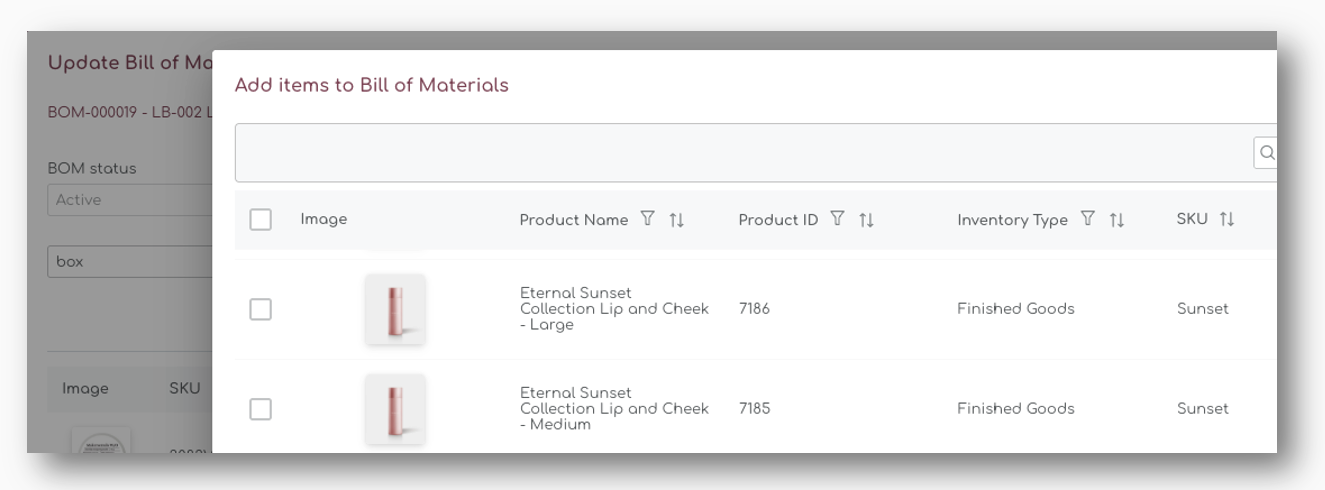
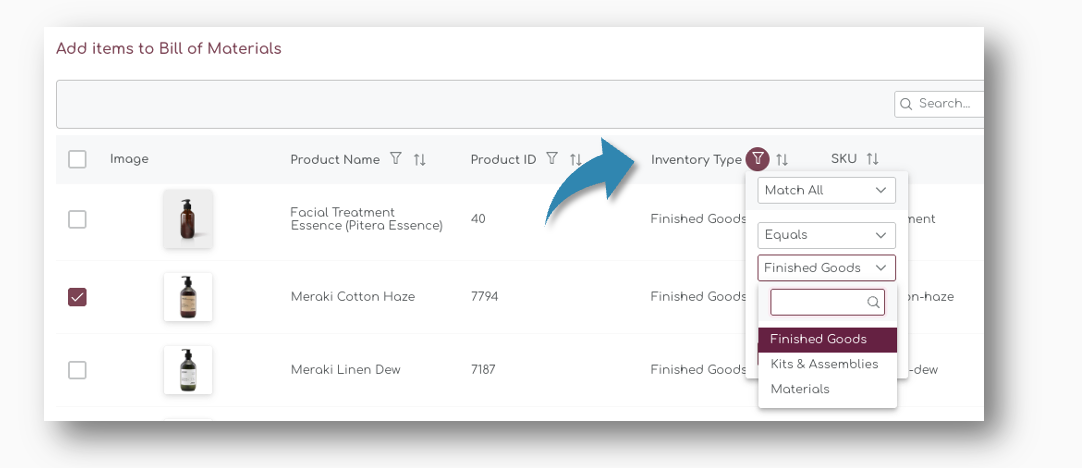
Add Finished Goods to Kits & Assemblies
Kits & Assemblies can be created by mixing both Materials, Finished Goods, or other assebled parts. When you create a new kit, you can easily filter on the 'Inventory Type' and select the type of product you want to add:
Add Materials to Kits & Assemblies
When you create a new assembled part using materials, you can select the materials from the available materials. When you add them to the Kit, a new BOM is created with all line items and their relevant information:
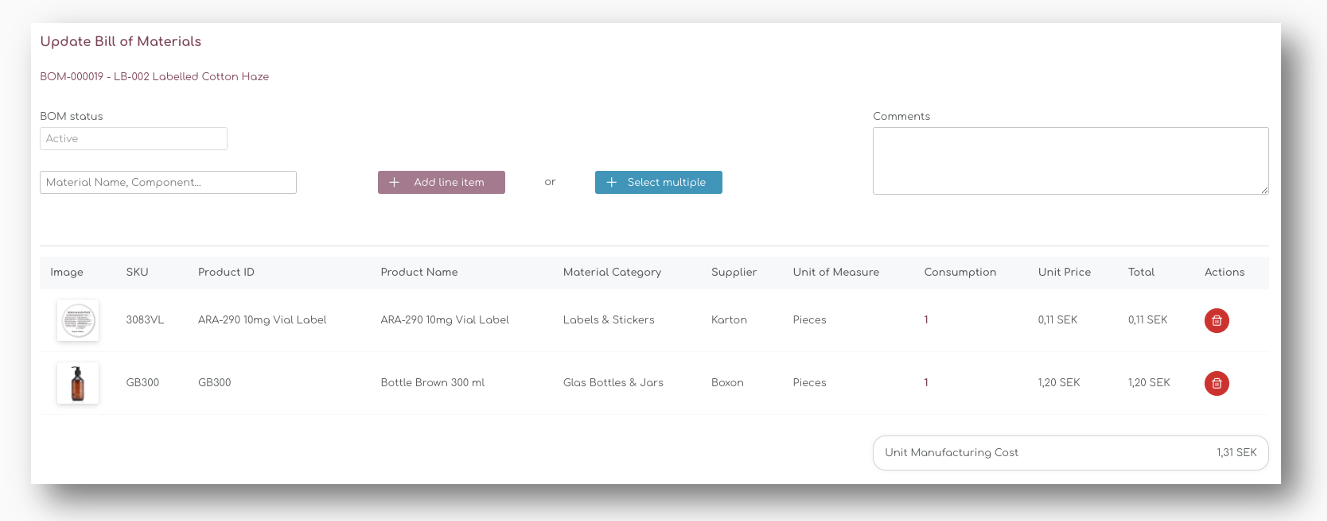
This creates a so called 'multi-level' Bill of Material'.
The Line Items in the BOM show the general information of the Kit, such as product/material name, supplier and unit of measure.
Add Line Items
You can add additional line items by simply typing in the field "Material Name" - all Materials or Components you have created for you store will appear when you start typing:
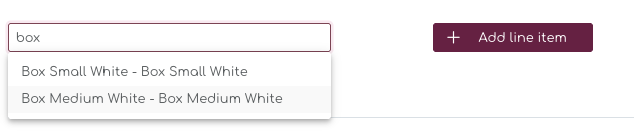
Only Materials will appear in this search. If you want to add a Finished Goods, or other Kits / Assemblies, you can use the "Select Multiple" instead: