
Installation Inventory Management for PrestaShop
Connect your store
1. Download the extension directly from the PrestaShop extensions pages. Search for Shelf Planner and you will find our extension for PrestaShop.
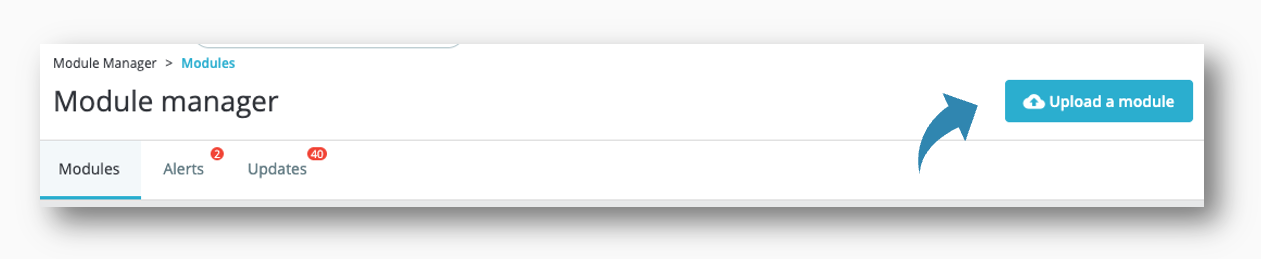
2. If you downloaded a zip file and want to upload it instead, you can go to Modules > Add New > Upload a module and select the ZIP file you downloaded:
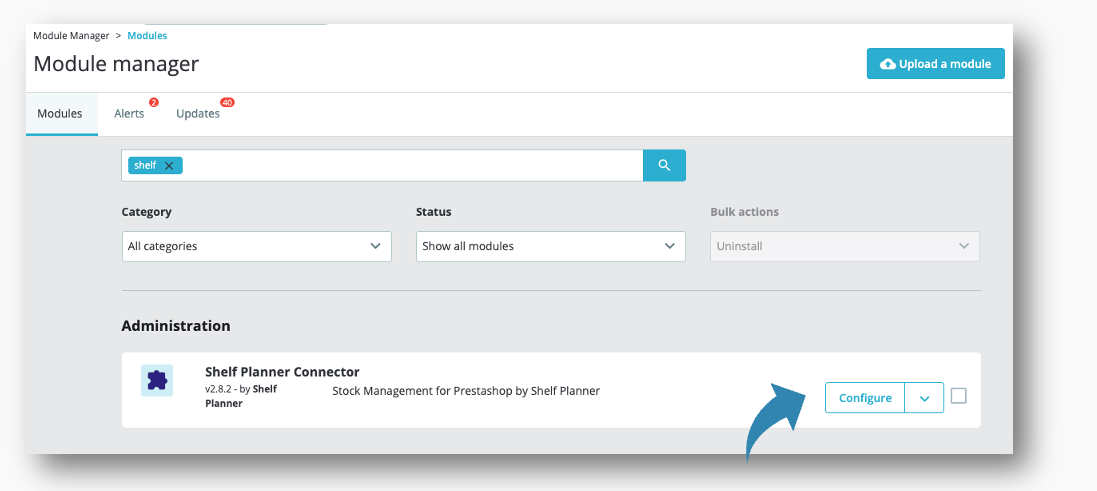
3. Click Install Now, and then Activate Plugin.
Shelf Planner Account
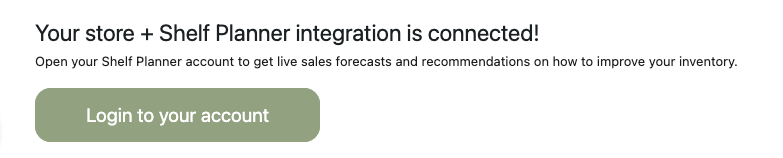
After installation and activation of the extension, the Shelf Planner link appears in the 'Activation Status' section:
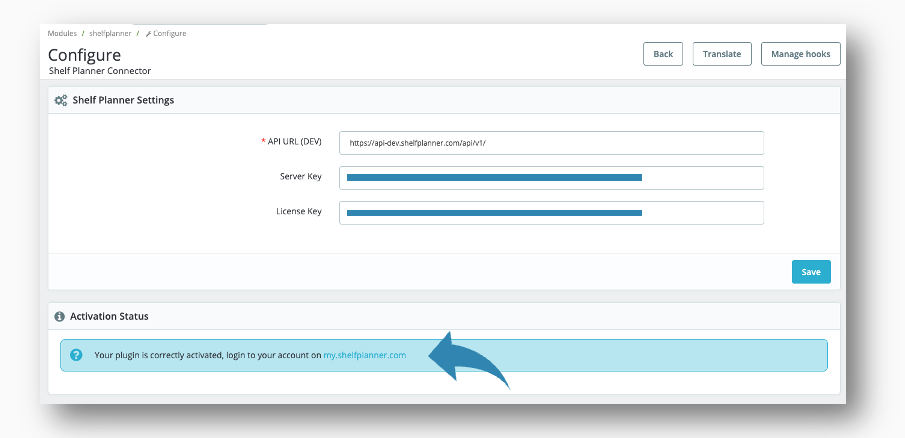
For new users, you will first have to set up an account with Shelf Planner. Active users can use the 'login to your account on my.shelfplanner.com'.
Dashboard
The dashboard shows your current plan and your license key.
After activation, you will be asked to set up your account:
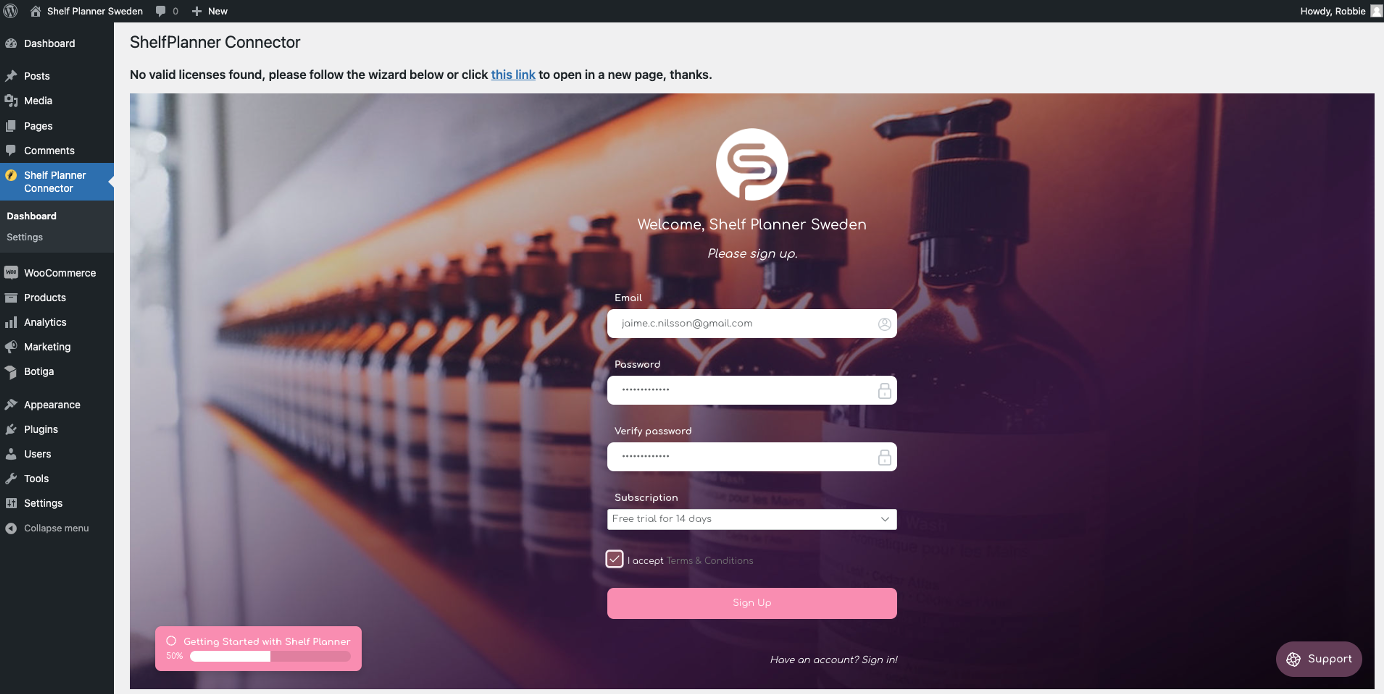
An activation mail will be sent to your mail address from when you can activate your account. Follow the activation link in the mail to enter your account:
Login to Existing Account
When you have installed and activated the plugin, and created an account, you can login directly from your store using the 'login' button:
This will open a new browser tab and you will have to login to you account to access the app.